Projects
Projects are the top-level containers for all your work in Takonaut. Each project holds its own board, backlog, sprints, and settings. Whether you are tracking a product build, a hiring pipeline, or an internal initiative, everything starts with a project.
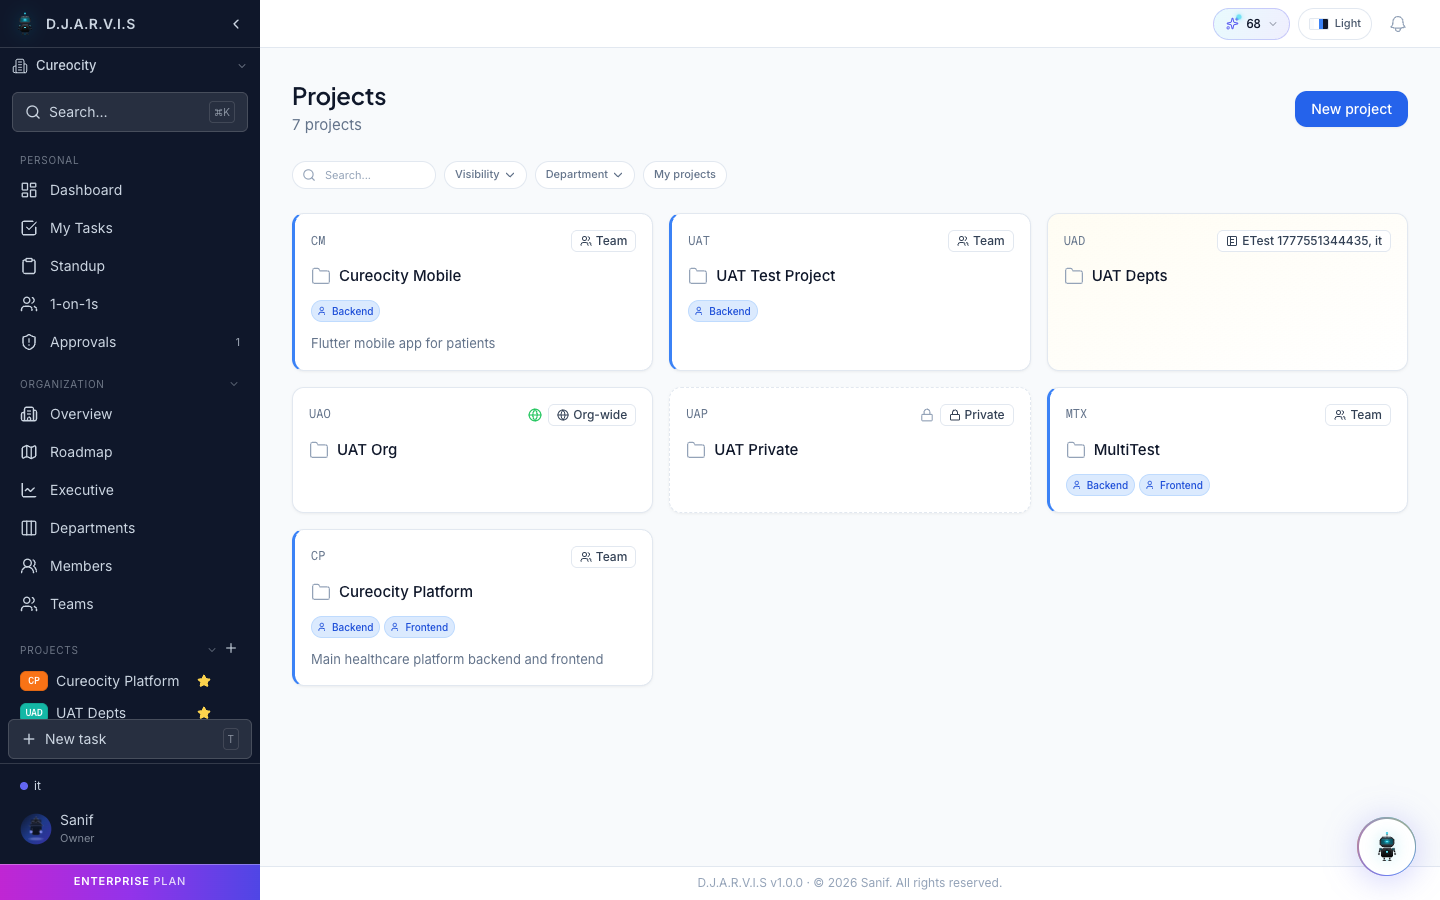
Browsing projects
The Projects page shows every project you have access to. Use the search bar to find a project by name, or narrow the list with filters:
- Visibility — filter by Private, Team, Department, or Organization-wide projects.
- Department — show only projects that belong to a specific department.
Each project card displays its name, key, description, and the department breadcrumb (e.g. Engineering > Platform Team > Auth Service), so you can see exactly where it sits in your organization hierarchy.
Creating a project
Click the + New Project button to open the creation dialog. You will need to provide:
| Field | Description |
|---|---|
| Name | A human-readable name for the project (e.g. “Customer Mobile App”). |
| Key | A short, unique identifier used as a prefix for every task in the project (e.g. CM). Once set, the key cannot be changed. All tasks created in this project will be numbered CM-001, CM-002, and so on. |
| Description | An optional summary of what the project is about. |
| Visibility | Controls who can see and access the project (see below). |
| Department / Team | Associates the project with a department and optionally a team. |
Project key
Every project has a unique key — a short alphabetic code like CM, AUTH, or HR. This key becomes the prefix for every task ID in the project. For example, if the key is CM, the first task will be CM-001, the second CM-002, and so on.
The key is auto-suggested from the project name when you create it, but you can override it with any unused key. Choose something short and memorable — your team will use it to reference tasks in conversation, commit messages, and pull requests.
Project visibility
Visibility determines who can see a project and its contents. You set this when creating a project and can change it later in project settings.
| Level | Who can access |
|---|---|
| Private | Only explicitly added project members. |
| Team | All members of the team the project belongs to. |
| Department | All members of the department the project belongs to. |
| Organization | Everyone in the organization. |
Even with broader visibility, only project members with the right permissions can modify settings or manage sprints. Visibility controls read access; permissions control write access.
Project membership
A project can have both individual members and entire teams assigned to it. To manage membership:
- Open the project.
- Go to Project Settings > Members.
- Add individual users or assign a team.
Members added directly or through a team gain access to the project board, backlog, and sprints. You can also assign members specific roles within the project to control what they can do.
Department breadcrumb
Every project shows a breadcrumb trail indicating its position in the organizational hierarchy: Department > Team > Project. This helps you quickly orient yourself when navigating between projects, especially in larger organizations with many departments and teams.